


3D Printing Beginners Guide
2026-05-25
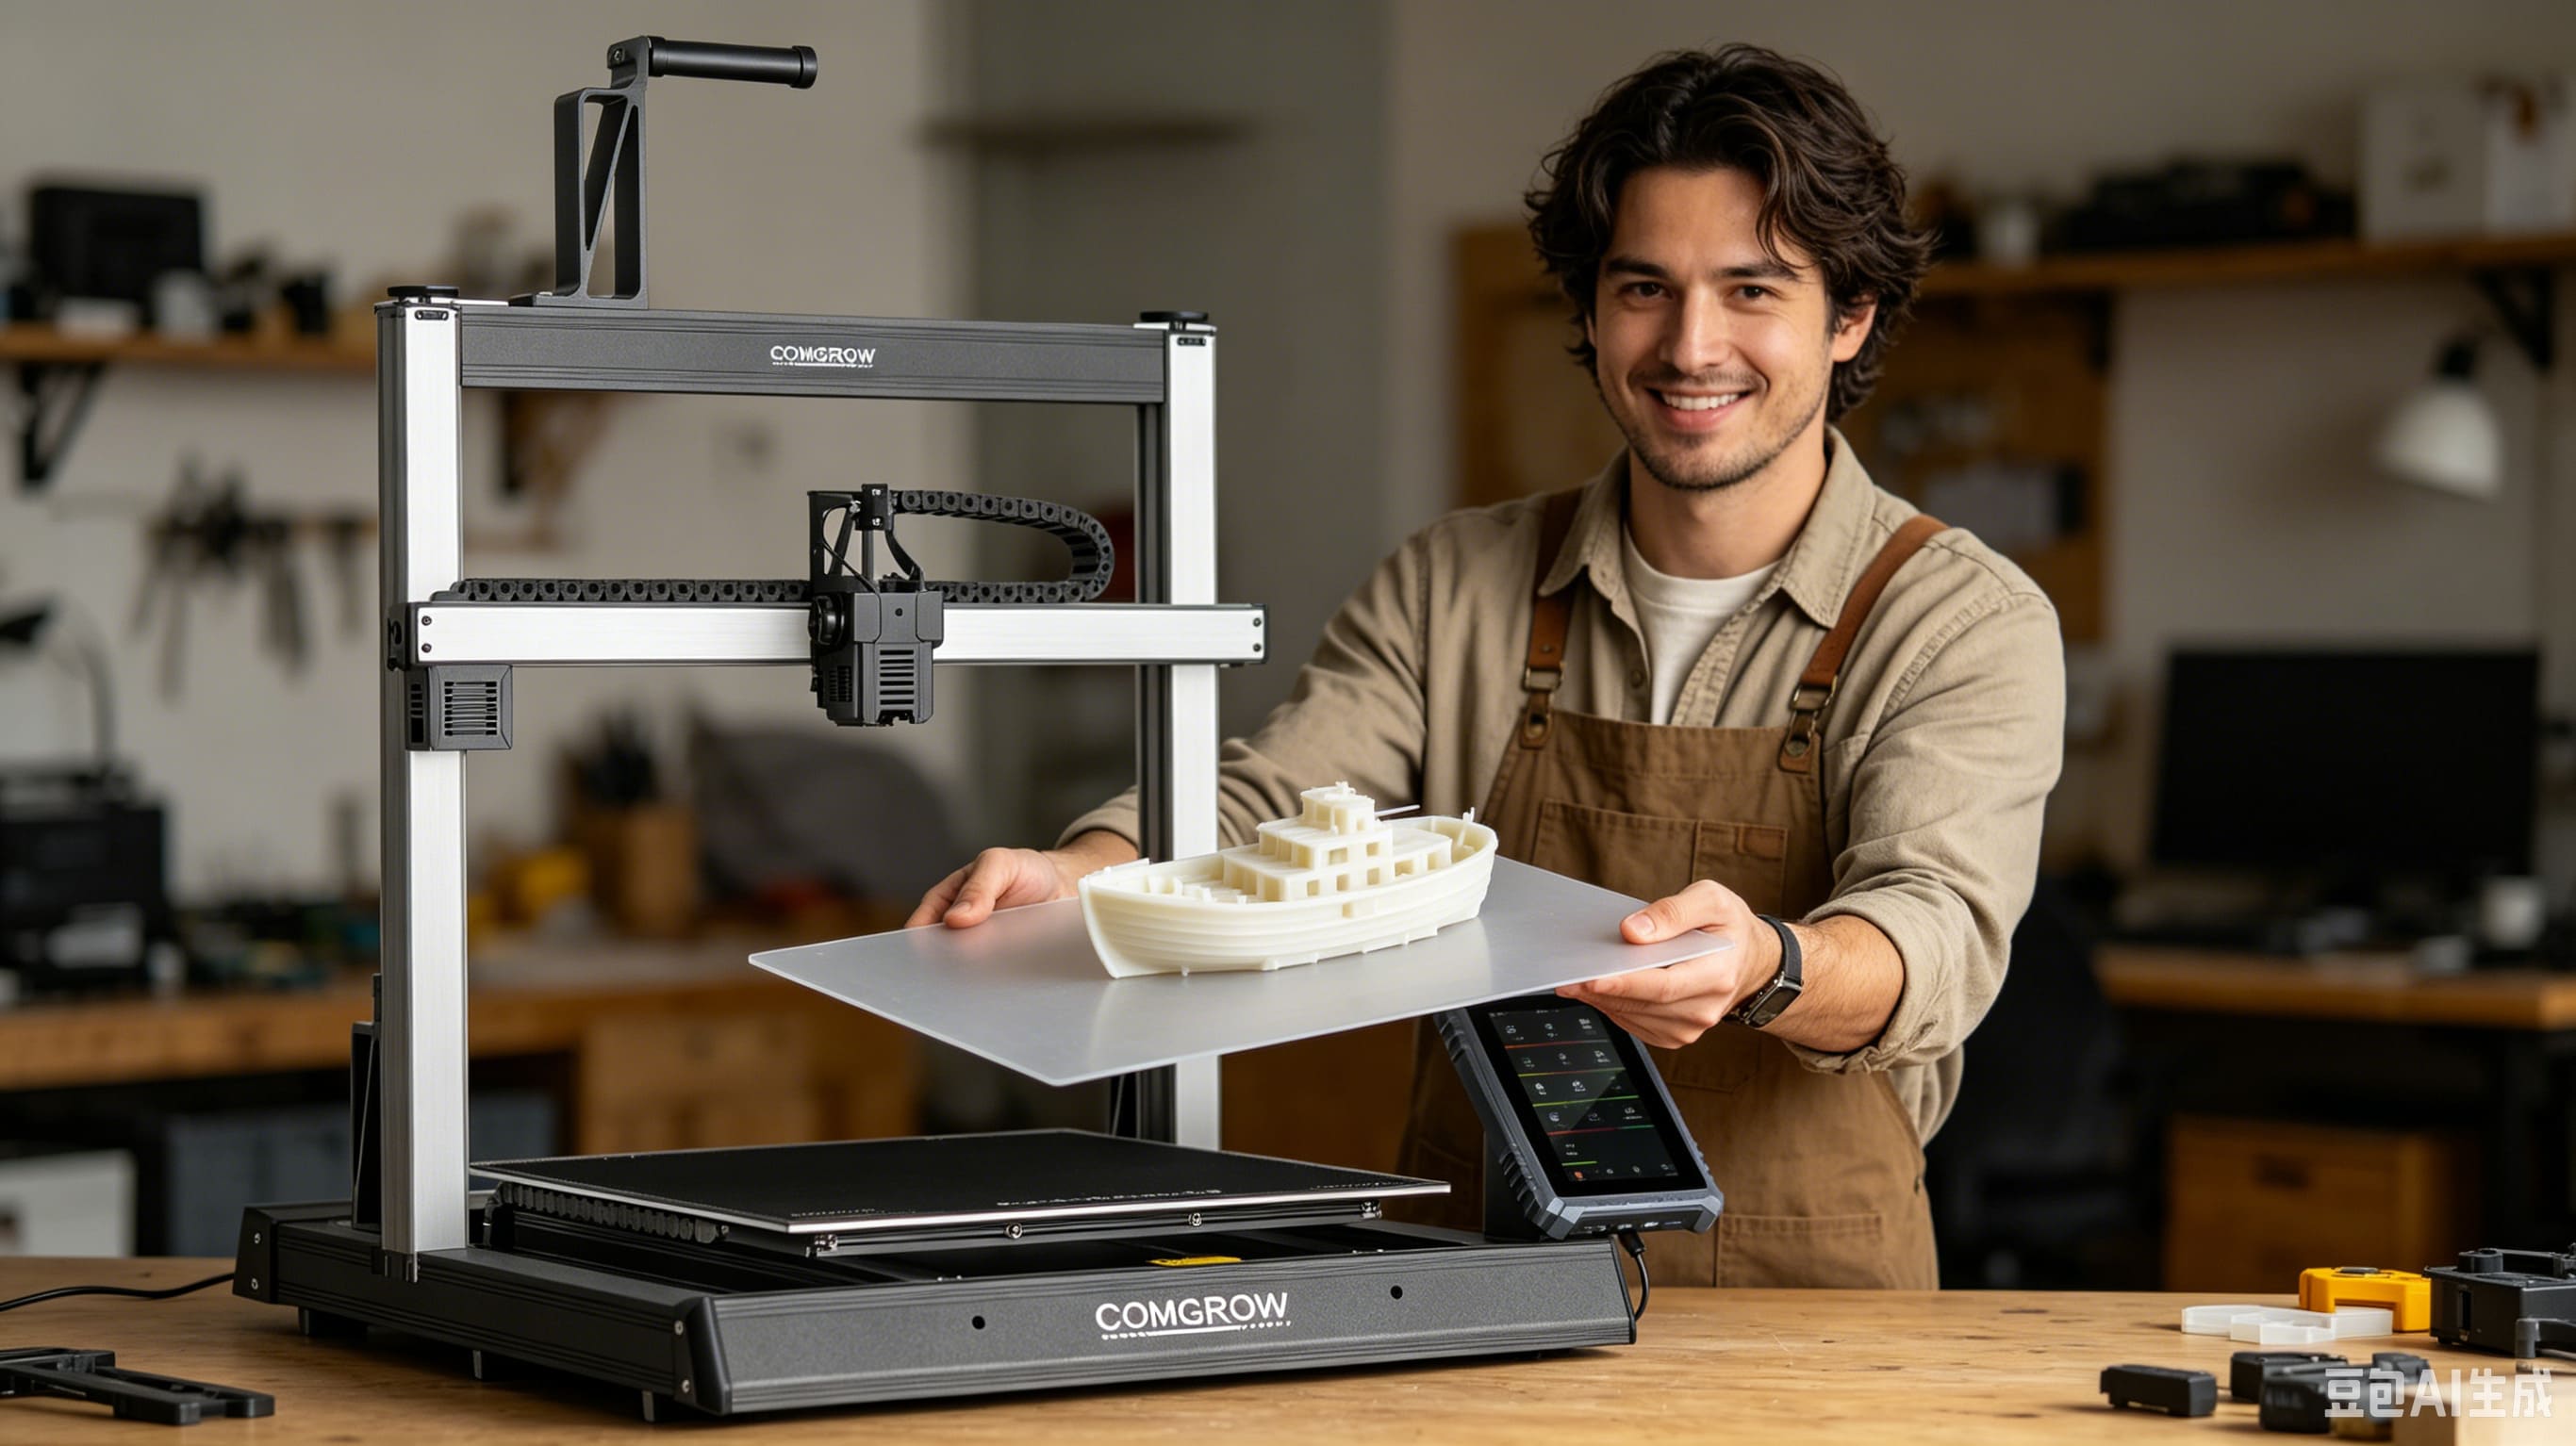
First 3D Print: Complete Beginner’s Guide
Introduction
Getting your first 3D printer is an exciting moment, but many beginners struggle with failed prints, bed adhesion issues, or confusing setup steps. If you own a Comgrow, Creality Ender series, or Sovol 3D printer, this ultimate beginner’s guide will help you complete your first perfect 3D print from scratch.
No advanced skills or professional experience are required. We will walk you through workspace preparation, machine inspection, bed leveling, filament loading, slicer settings, printing process, and common problem fixes. By the end of this guide, you will confidently operate your 3D printer and enjoy stable printing results.
1. Prepare a Standard 3D Printing Workspace
A suitable workspace is the first step to avoiding printing failures and safety risks. Before assembling and using your 3D printer, complete the following preparations:
-
Place the printer on a flat, stable, and horizontal table to prevent layer shifting caused by machine vibration.
-
Reserve enough space around the printer for heat dissipation and model removal.
-
Keep the workspace dry and away from flammable items, as 3D printing involves high-temperature heating.
-
Prepare sufficient lighting to observe the first-layer printing status clearly.
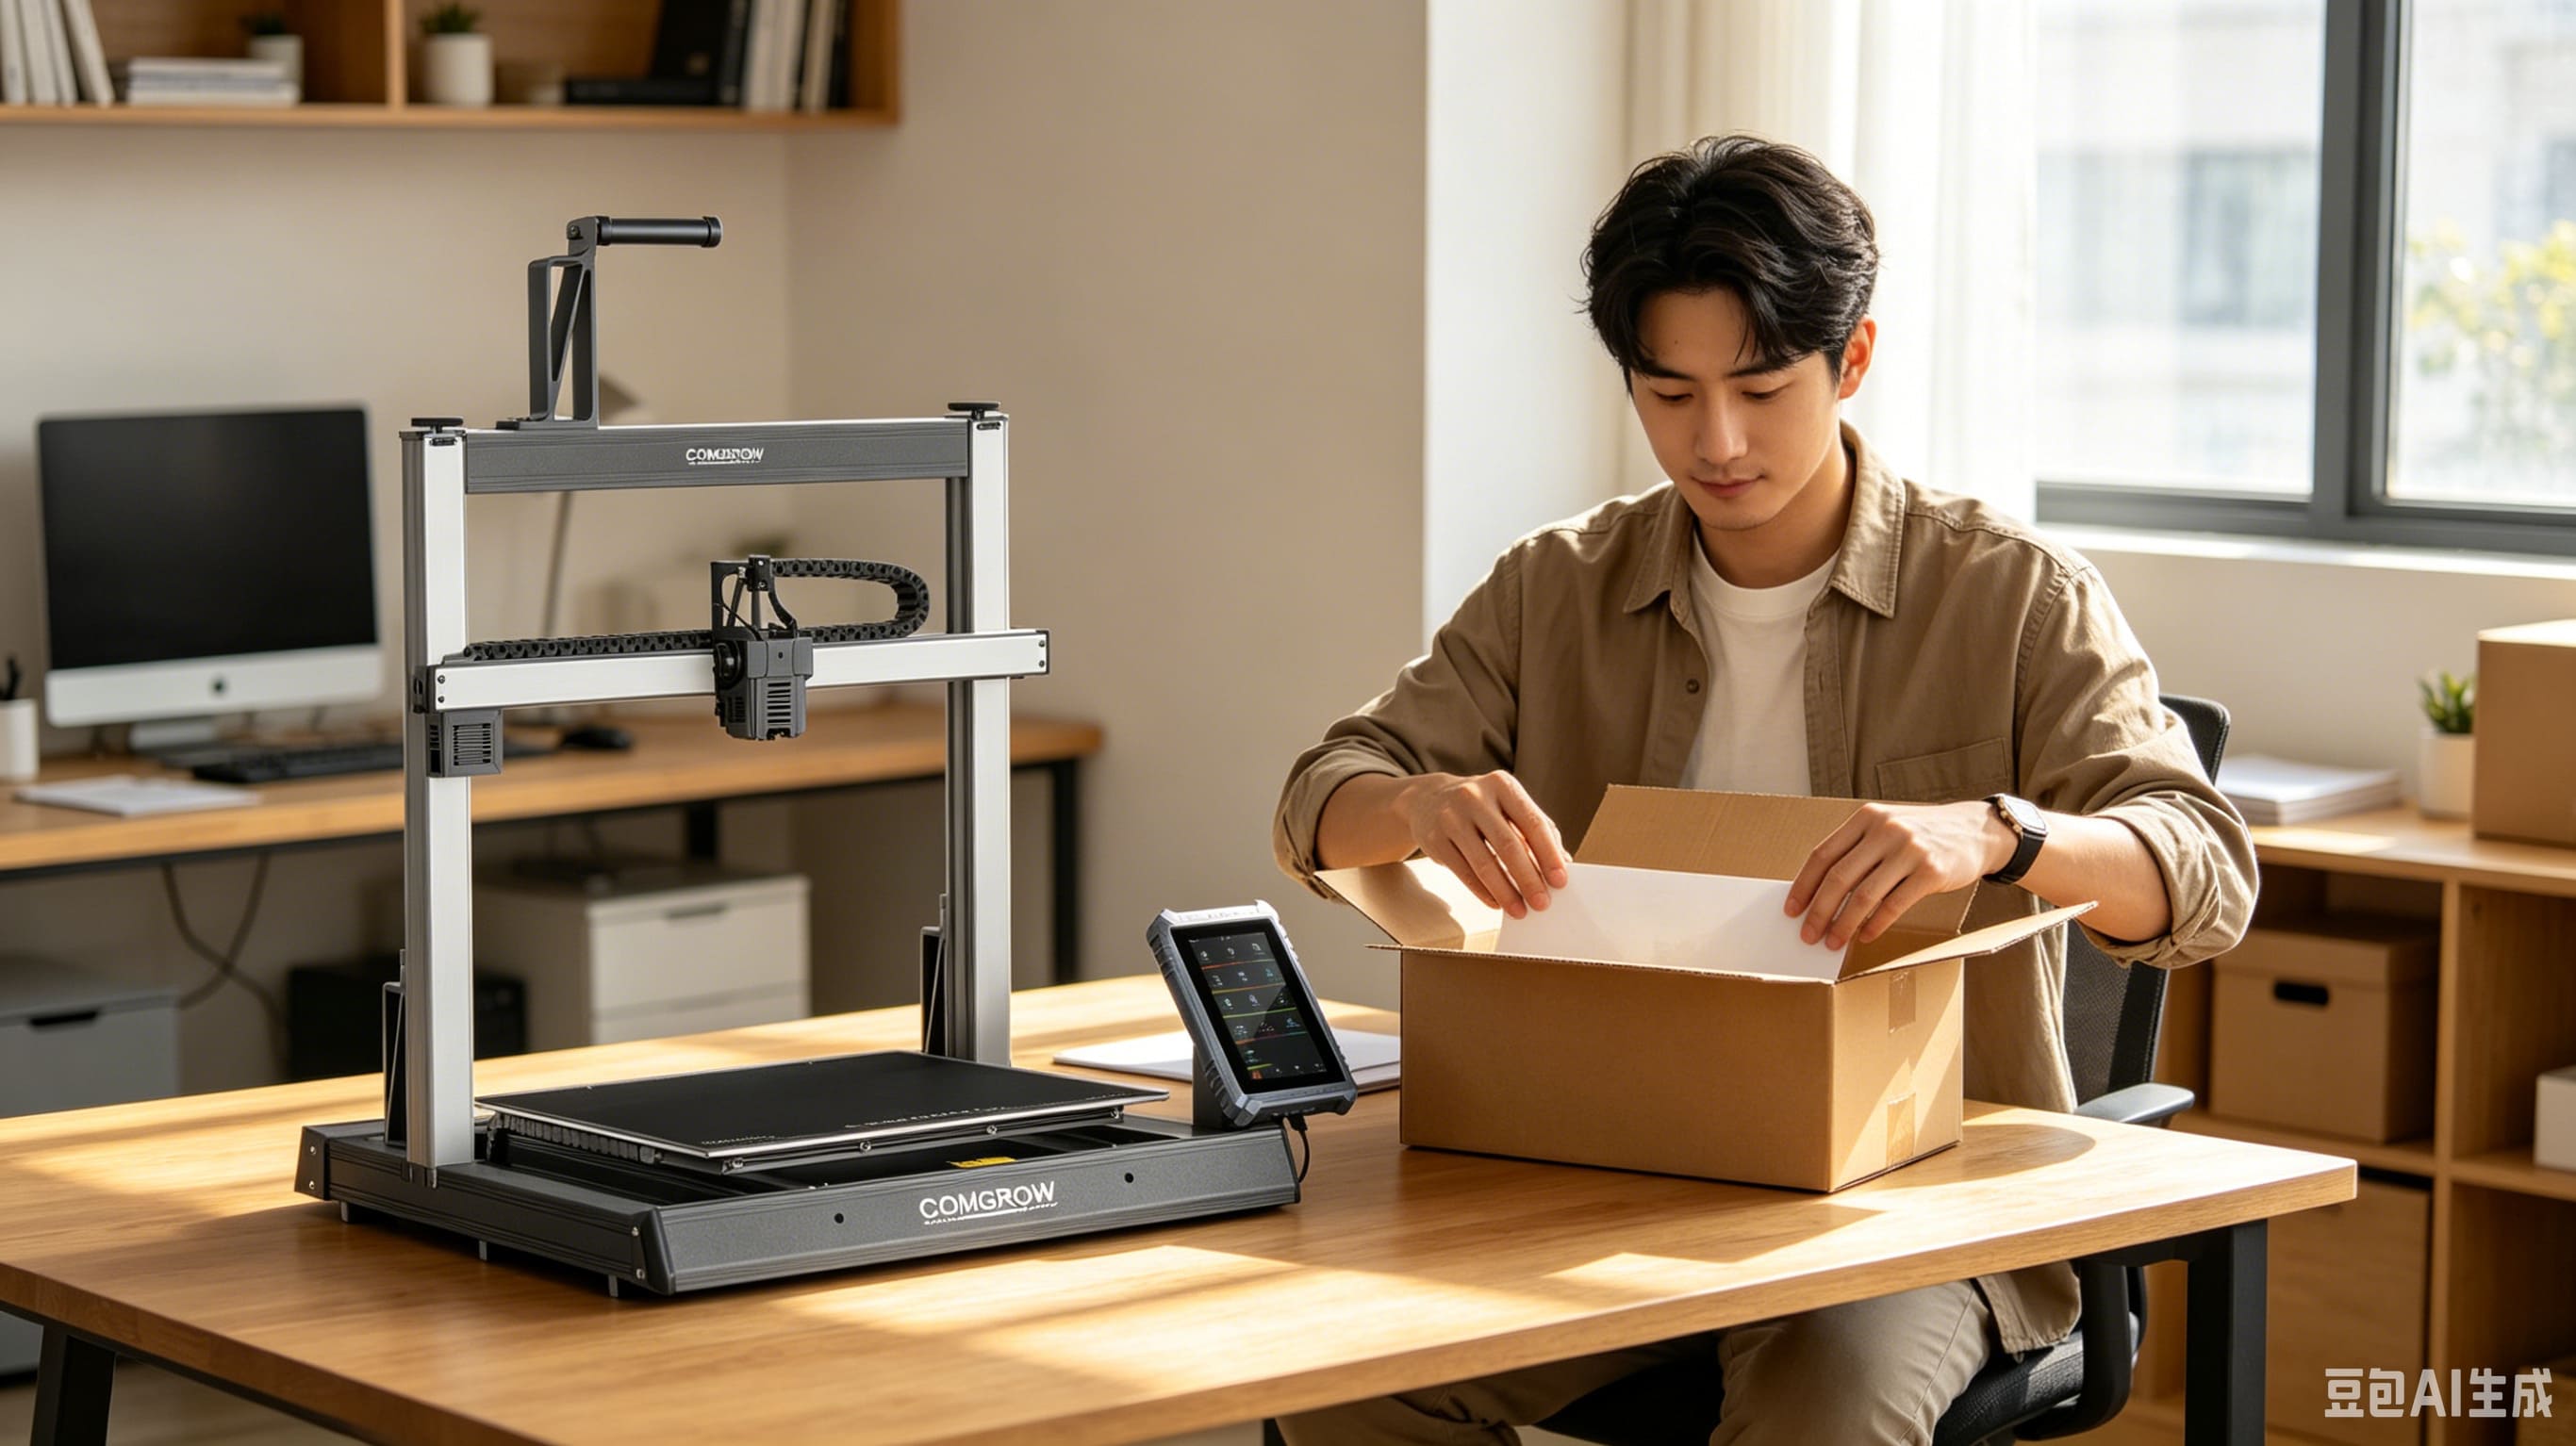
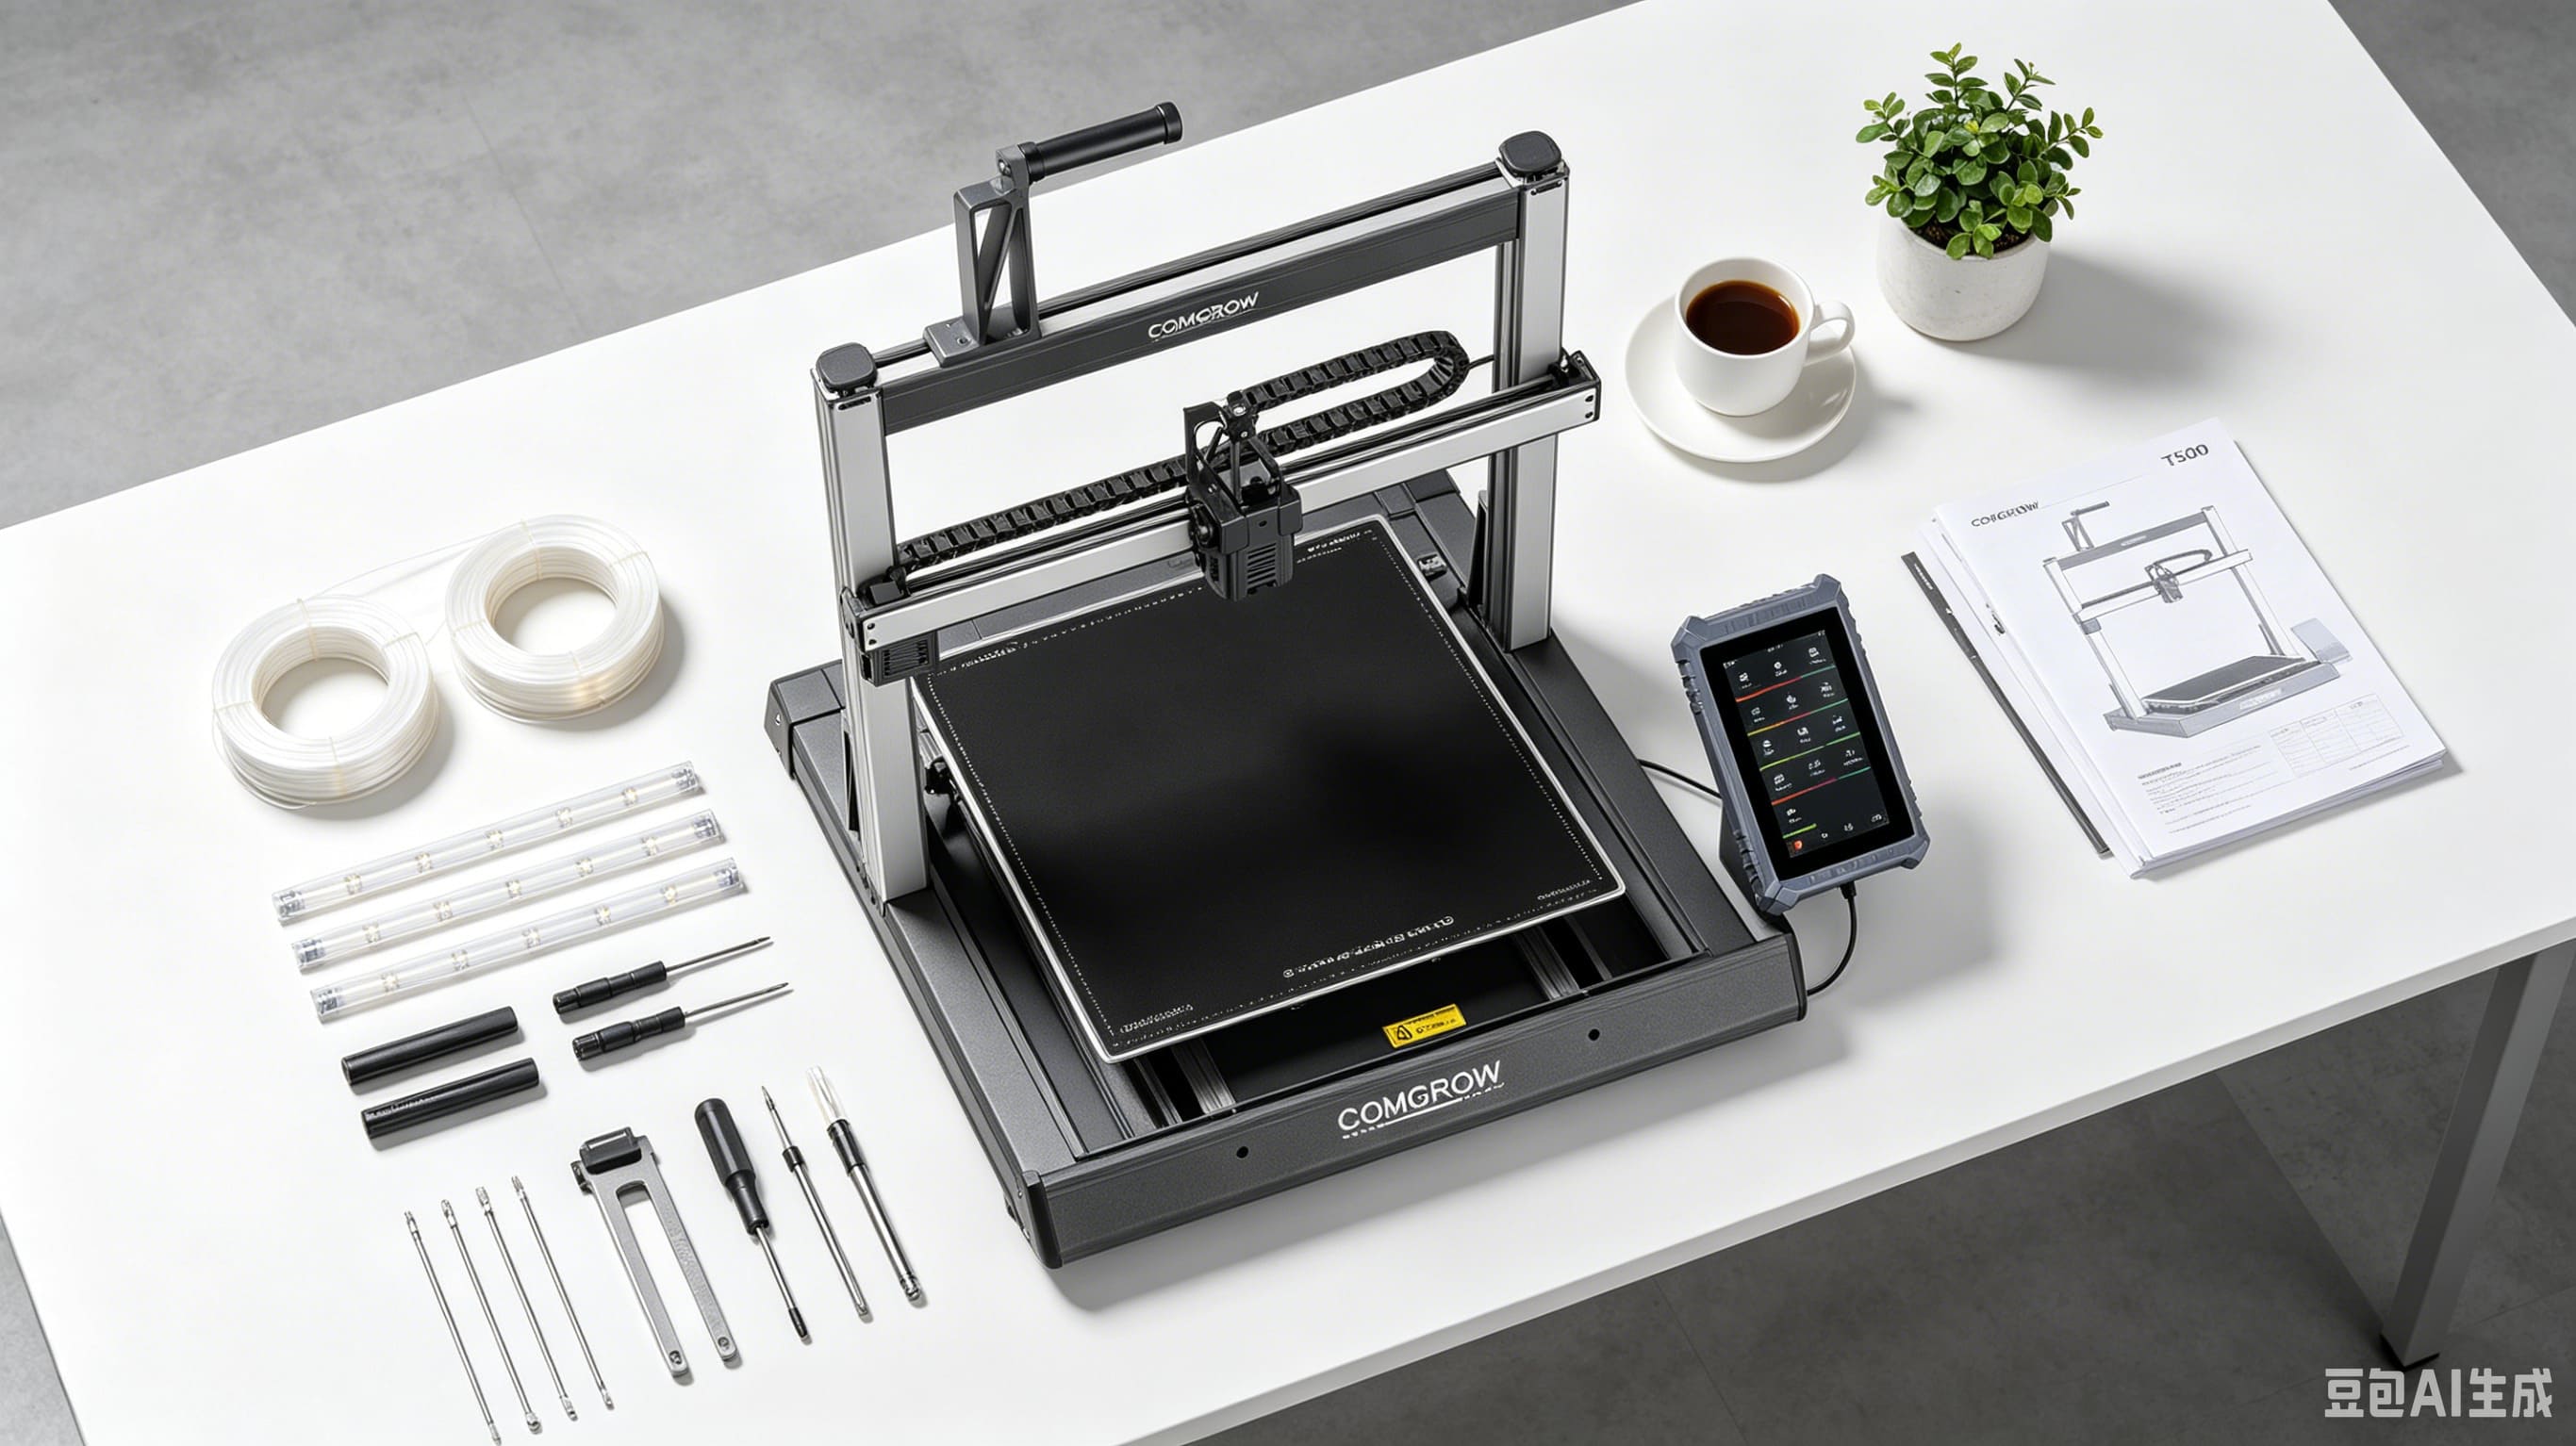
2. Unbox and Inspect All Accessories
All Comgrow, Creality, and Sovol 3D printers are strictly inspected before shipment, but a quick self-check is necessary to avoid missing parts or damaged components.
Check the complete accessories list:
-
Printer main frame and gantry system
-
Power adapter and power cable
-
1.75mm standard 3D printing filament
-
PEI flexible print plate / magnetic build plate
-
Matching screwdrivers, wrenches and user manual
3. Critical Step: Bed Leveling for Perfect First Layer
Poor bed leveling is the No.1 cause of first-layer failure, including model warping, poor adhesion, and uneven lines. Most Comgrow mainstream models (Ender-3 V3 SE, Sovol SV06, Comgrow T500) support intelligent auto-leveling, which is friendly for beginners.
Auto-leveling Operation Steps:
-
Turn on the printer and enter the main menu interface.
-
Select the “Auto Leveling” function and confirm execution.
-
The nozzle will automatically scan multiple points of the hot bed. Do not touch the machine during the process.
-
Wait for the leveling process to complete (about 3–5 minutes).
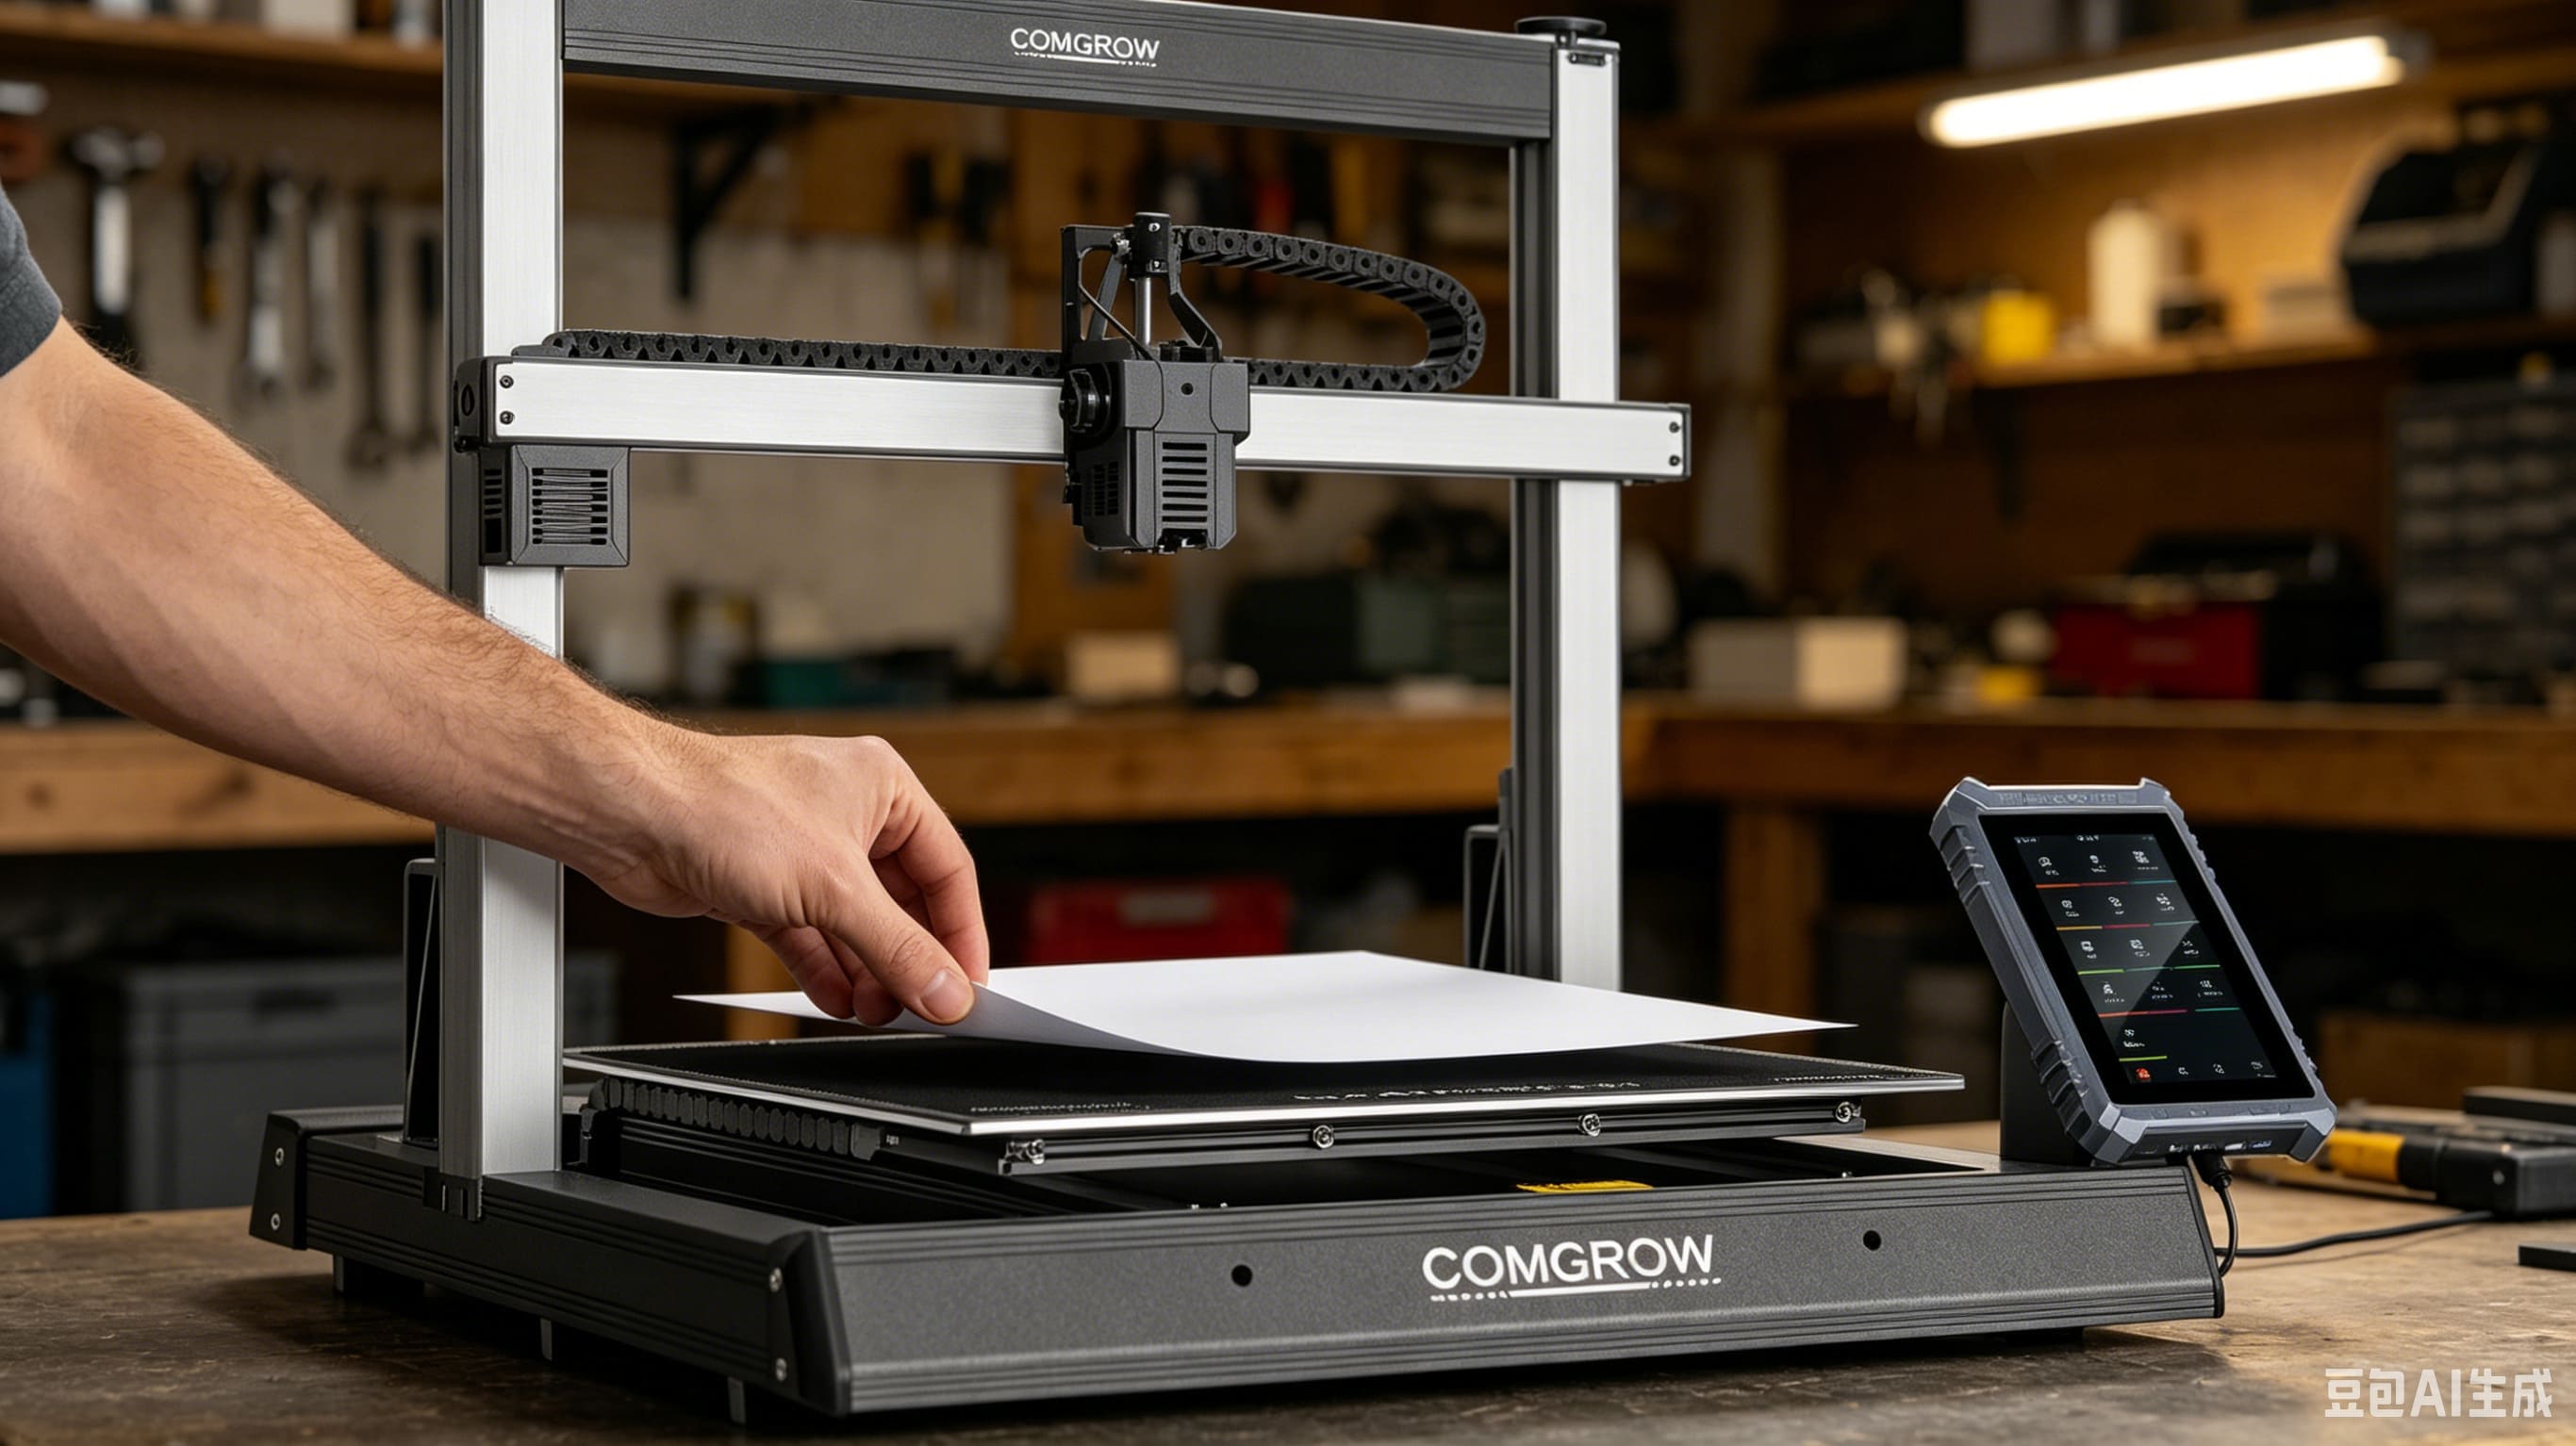
Manual Auxiliary Inspection:
After auto-leveling, use a piece of ordinary paper to test the gap between the nozzle and the bed. A slight resistance when pulling the paper means the height is standard and suitable for printing.
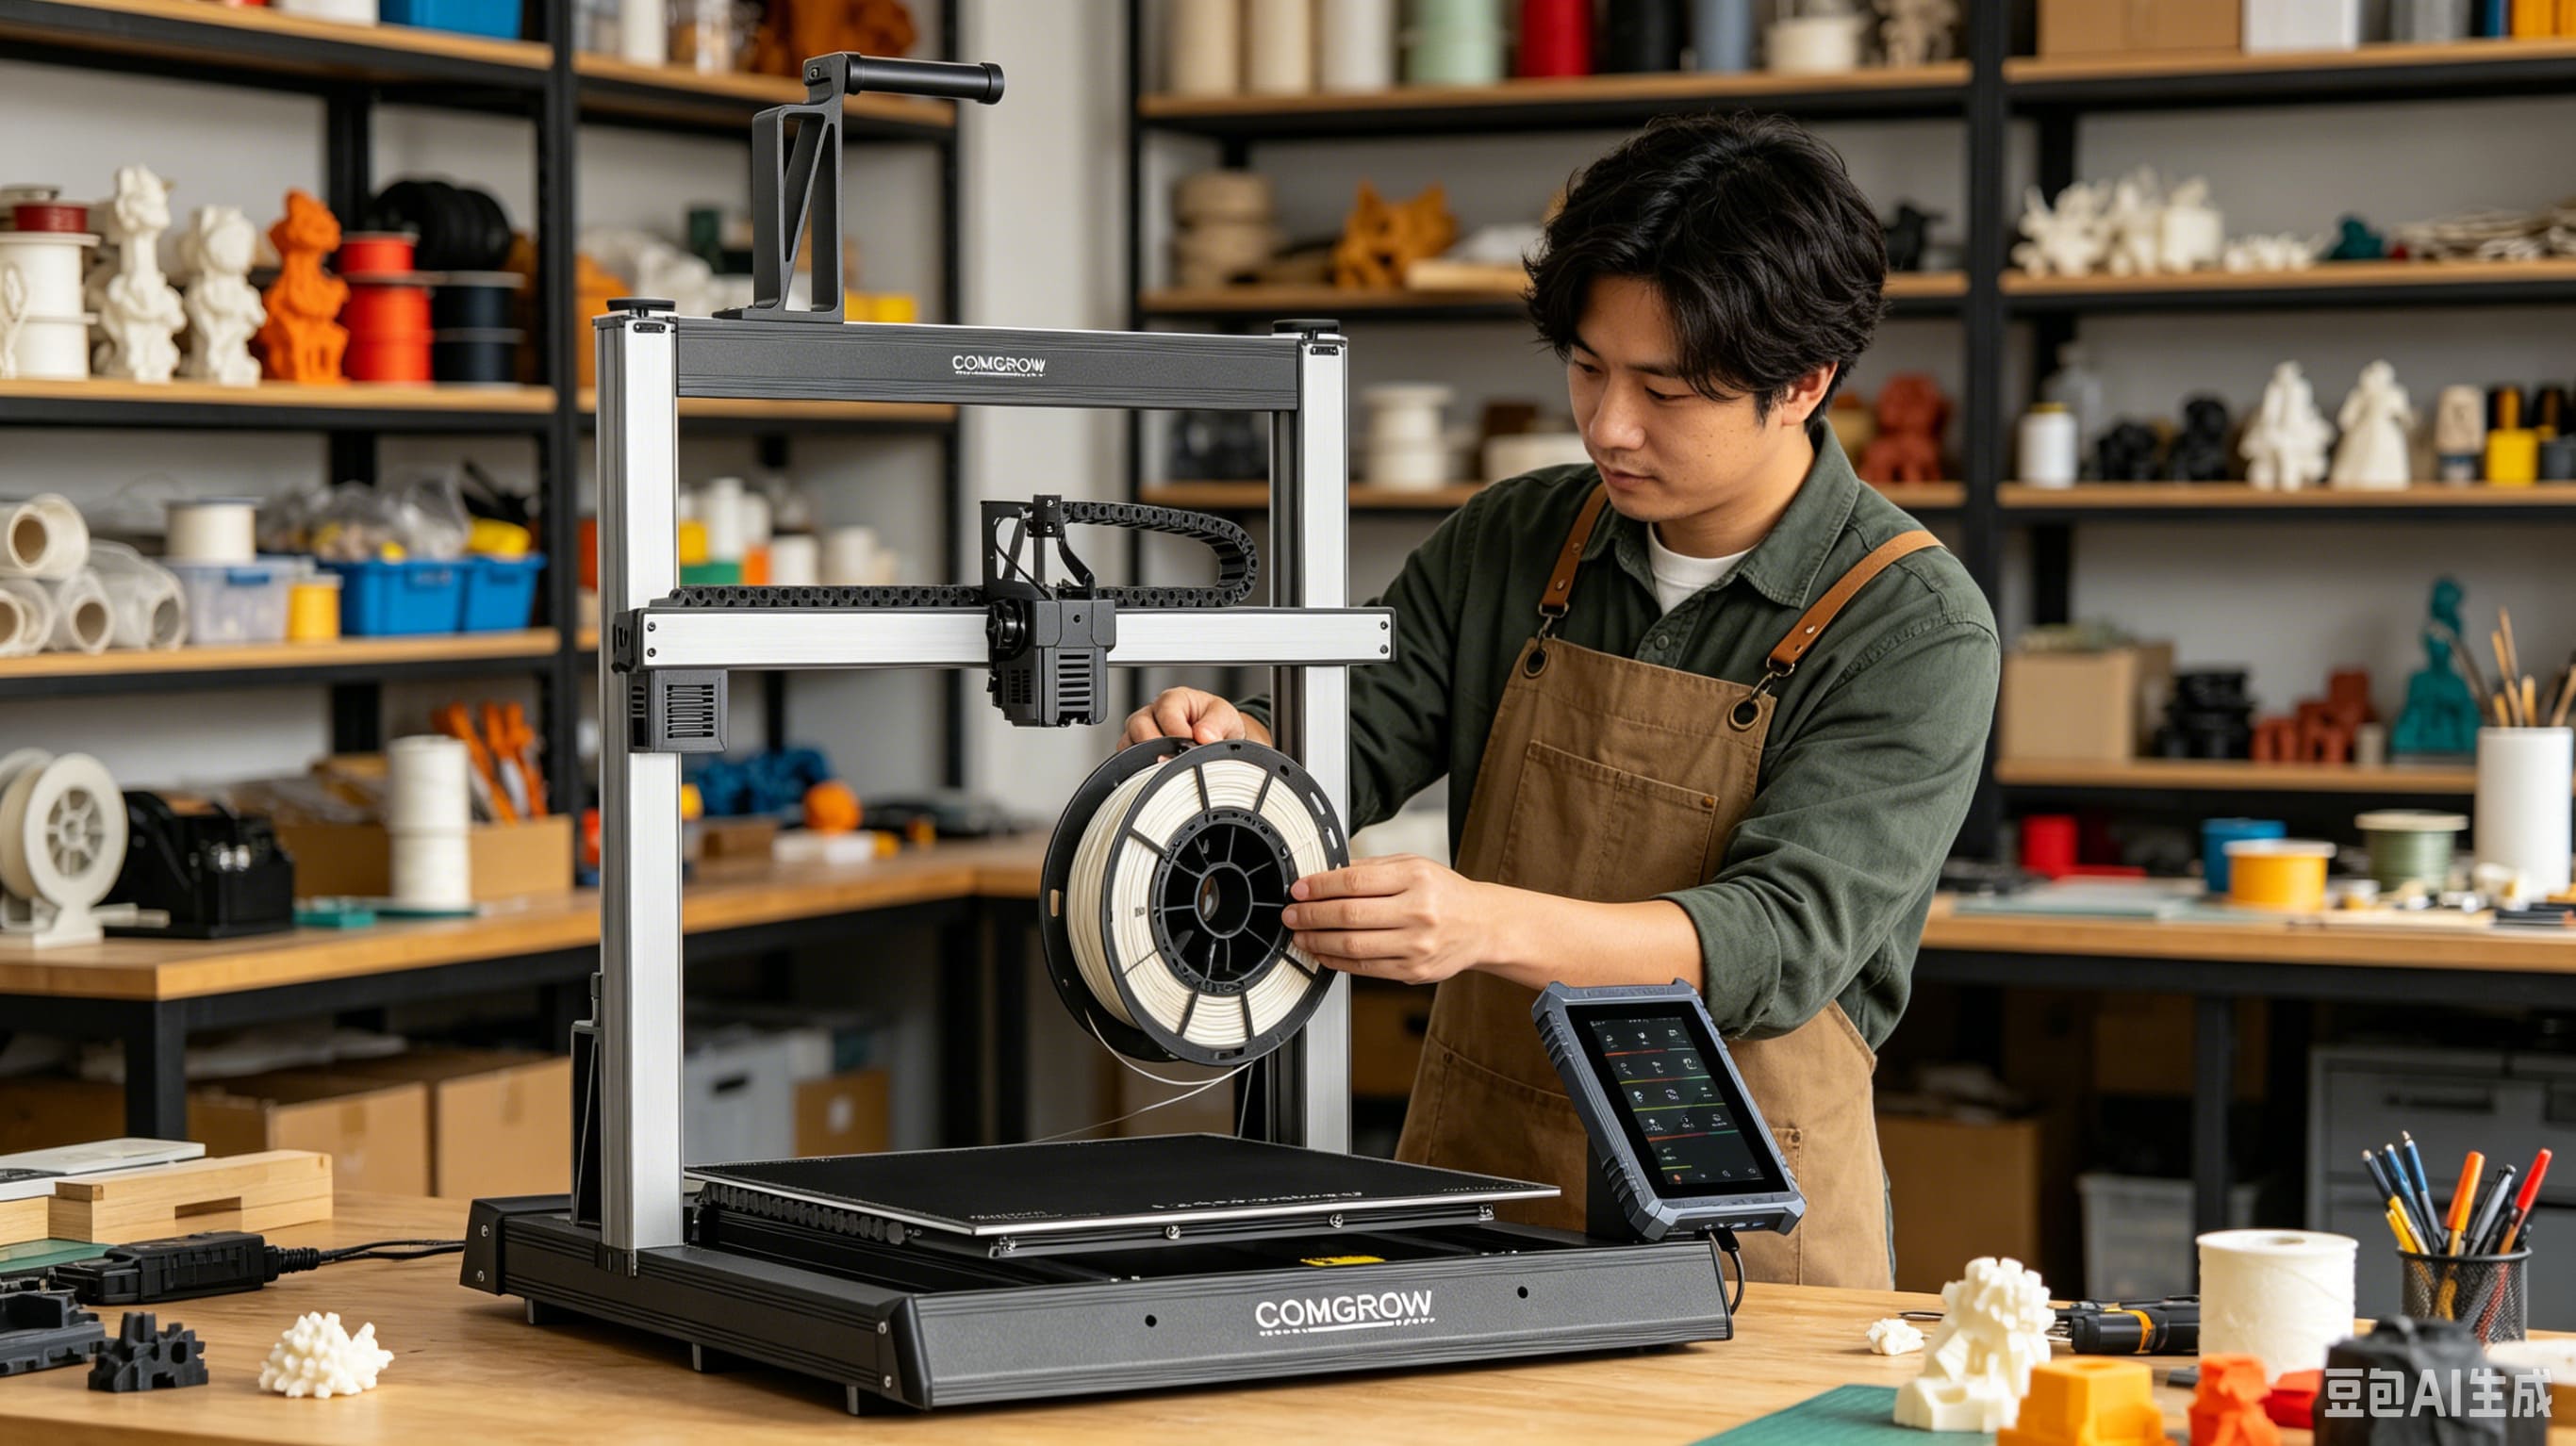
4. Correct Filament Loading Method
Incorrect filament loading will directly cause clogging, material breakage, and printing interruption. We take the most commonly used PLA filament as an example:
-
Preheat the nozzle to 190°C–210°C and the hot bed to 45°C–60°C.
-
Cut the tip of the filament at a 45° angle to avoid jamming the extruder.
-
Insert the filament into the extruder feeding port and press the feeding button.
-
Observe the nozzle until the uniform filament is extruded smoothly, then stop feeding.
5. Beginner-Friendly Slicer Settings & First Model Selection
For your first print, do not try complex models. We recommend classic test models: 3D Benchy, calibration cube, and small phone stand. These models can fully test the printer’s stability and printing accuracy.
Universal Beginner Slicer Parameters (Cura):
-
Layer height: 0.2mm (the most balanced choice for speed and precision)
-
Printing speed: 50mm/s (stable and not easy to fail)
-
Infill density: 20% (save filament and shorten printing time)
-
Support: Not required for basic test models
-
Retraction: Enable default retraction settings
After slicing the model, save the G-code file to an SD card and insert it into the printer to start printing.

6. Key Observations During Printing
The first 5 minutes of printing determine the final effect of the model. You need to focus on the first-layer status:
-
Standard effect: The lines are flat, dense, and closely fit the hot bed without gaps.
-
Abnormal judgment: If the filament is too sparse, the model will fall off; if the filament is too stacked, the nozzle will block easily.
7. Model Removal & Post-Print Notes
Do not remove the model immediately after printing. Wait for the hot bed to cool down to room temperature, then gently bend the PEI flexible plate, and the model can be easily peeled off without damage.
After each use, clean the residual filament on the nozzle and the surface of the hot bed to keep the machine clean for the next use.
8. Common Beginner Problems & Quick Fixes
Even with standard operations, beginners may encounter minor problems. Here are the most common solutions:
-
Model not sticking to the bed: Re-level the bed, appropriately increase the bed temperature, and clean the bed surface with alcohol.
-
Filament stringing: Slightly lower the nozzle temperature or enable retraction optimization in the slicer.
-
Layer shifting: Check and tighten the machine belts, and avoid excessive printing speed.
-
Nozzle clogging: Clean the nozzle after heating, and use dry filament for printing.
Final Summary
3D printing is a fun and creative hobby. Every perfect print starts with standardized setup and patient observation. As a professional supplier of 3D printers, filaments, dryers, and scanning equipment, Comgrow is committed to providing users with cost-effective 3D printing devices and detailed usage tutorials.
After mastering the basic printing skills, you can try more creative models, different types of filaments, and high-speed printing modes to explore more possibilities of 3D printing.
Share your first print with us! Tag #ComgrowPrint #MyFirst3DPrint on social media.
0 COMMENTS